
Art Guides
Photographing Your Art - A Friendly Guide to Presenting Your Work at Its Best
A Friendly Guide to Presenting Your Work at Its Best By someone who's been behind the camera (a lot) As a former cinematographer and product photographer, I've spent decades thinking about light,...
Administrator · · 5 min read
A Friendly Guide to Presenting Your Work at Its Best
By someone who's been behind the camera (a lot)
As a former cinematographer and product photographer, I've spent decades thinking about light, framing, and how to make objects come alive on screen. These days, I use that experience in the studio with my wife, a ceramic artist, helping her capture her pieces for websites, social media, and gallery submissions.
What I've come to realise is that every artist-whether working in clay, paint, textiles, metal, or digital media-needs to develop a few simple habits when it comes to photographing their work. Because in today's world, your artwork doesn't just sit quietly in a gallery or studio. It lives online. And online, the photo becomes the first impression. That photo might be the only version a buyer, collector, or curator ever sees. So it pays to get it right.
Let me walk you through what I've learned-what to focus on, what to invest in, and what you can skip. This isn't about turning you into a pro photographer. It's about giving you confidence to present your work beautifully and consistently.
Artwork now has two lives: real and digital
Every artwork you make has a physical life-it has weight, texture, scale, presence. But it also has a digital life. That version is just pixels, sure-but don't underestimate its power. Most people who discover your work will first encounter it on a phone screen or a gallery's submissions folder. They will feel something about your work based on how it looks in a photo.
So don't just snap a quick phone pic on your workbench under yellow lights and hope for the best. With a little care, you can dramatically improve how your work appears-and make sure your digital self reflects your real-world brilliance.
The Essentials - Gear You'll Actually Use
Camera:
The best camera is the one you'll actually use. Yes, a DSLR or mirrorless camera gives you more control and better image quality, especially in low light. But a modern smartphone can do the job surprisingly well-if you control the lighting and the background.
Tripod:
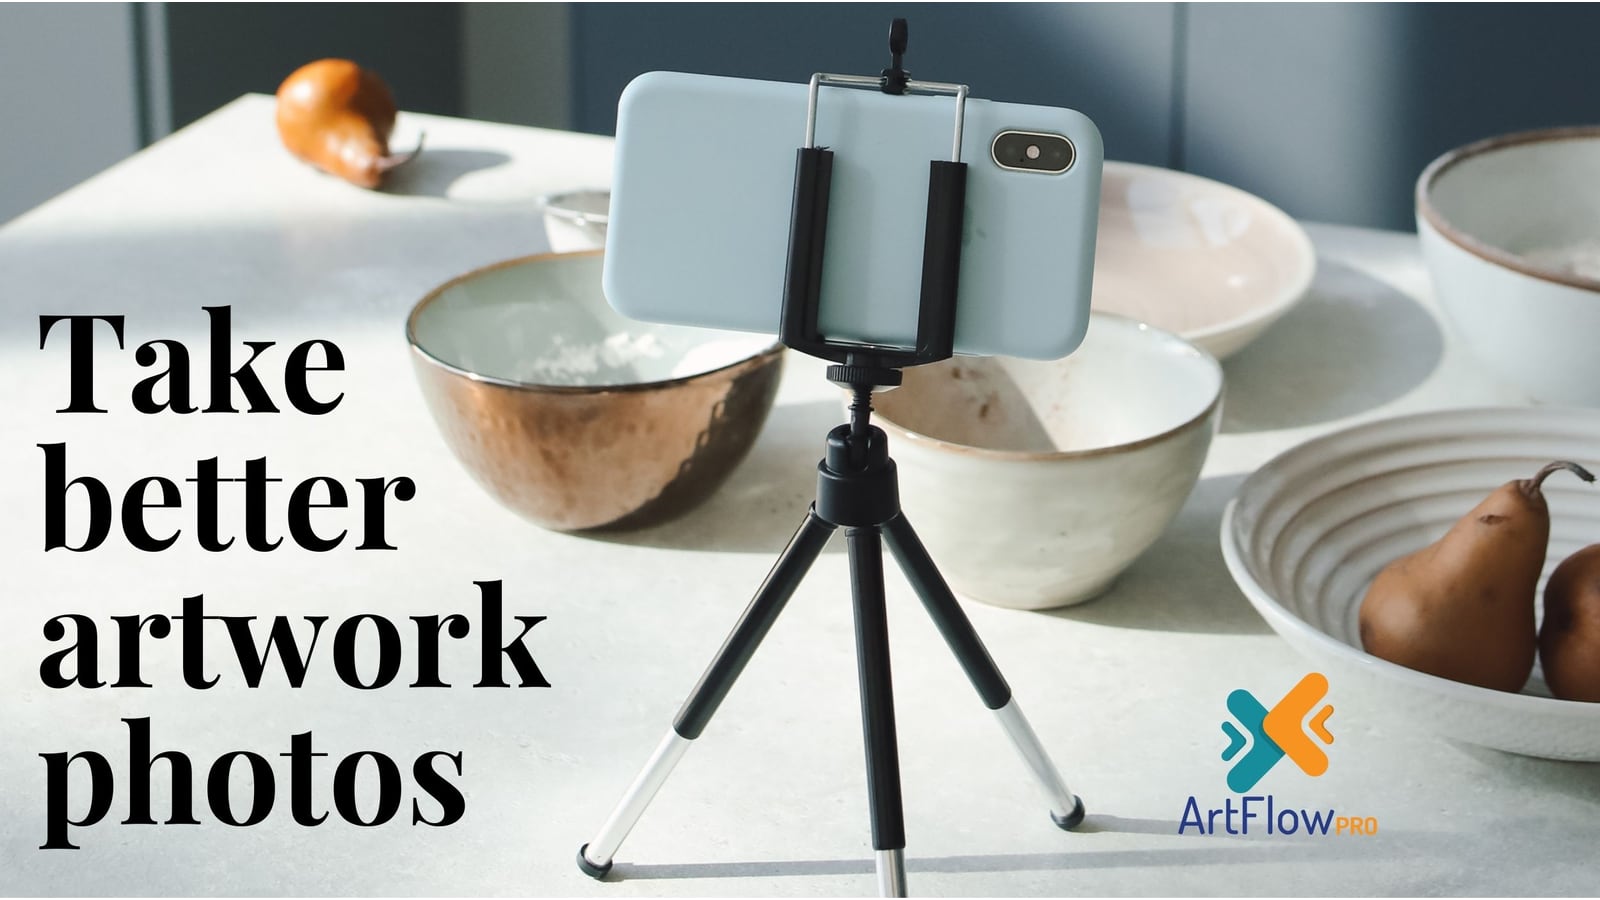
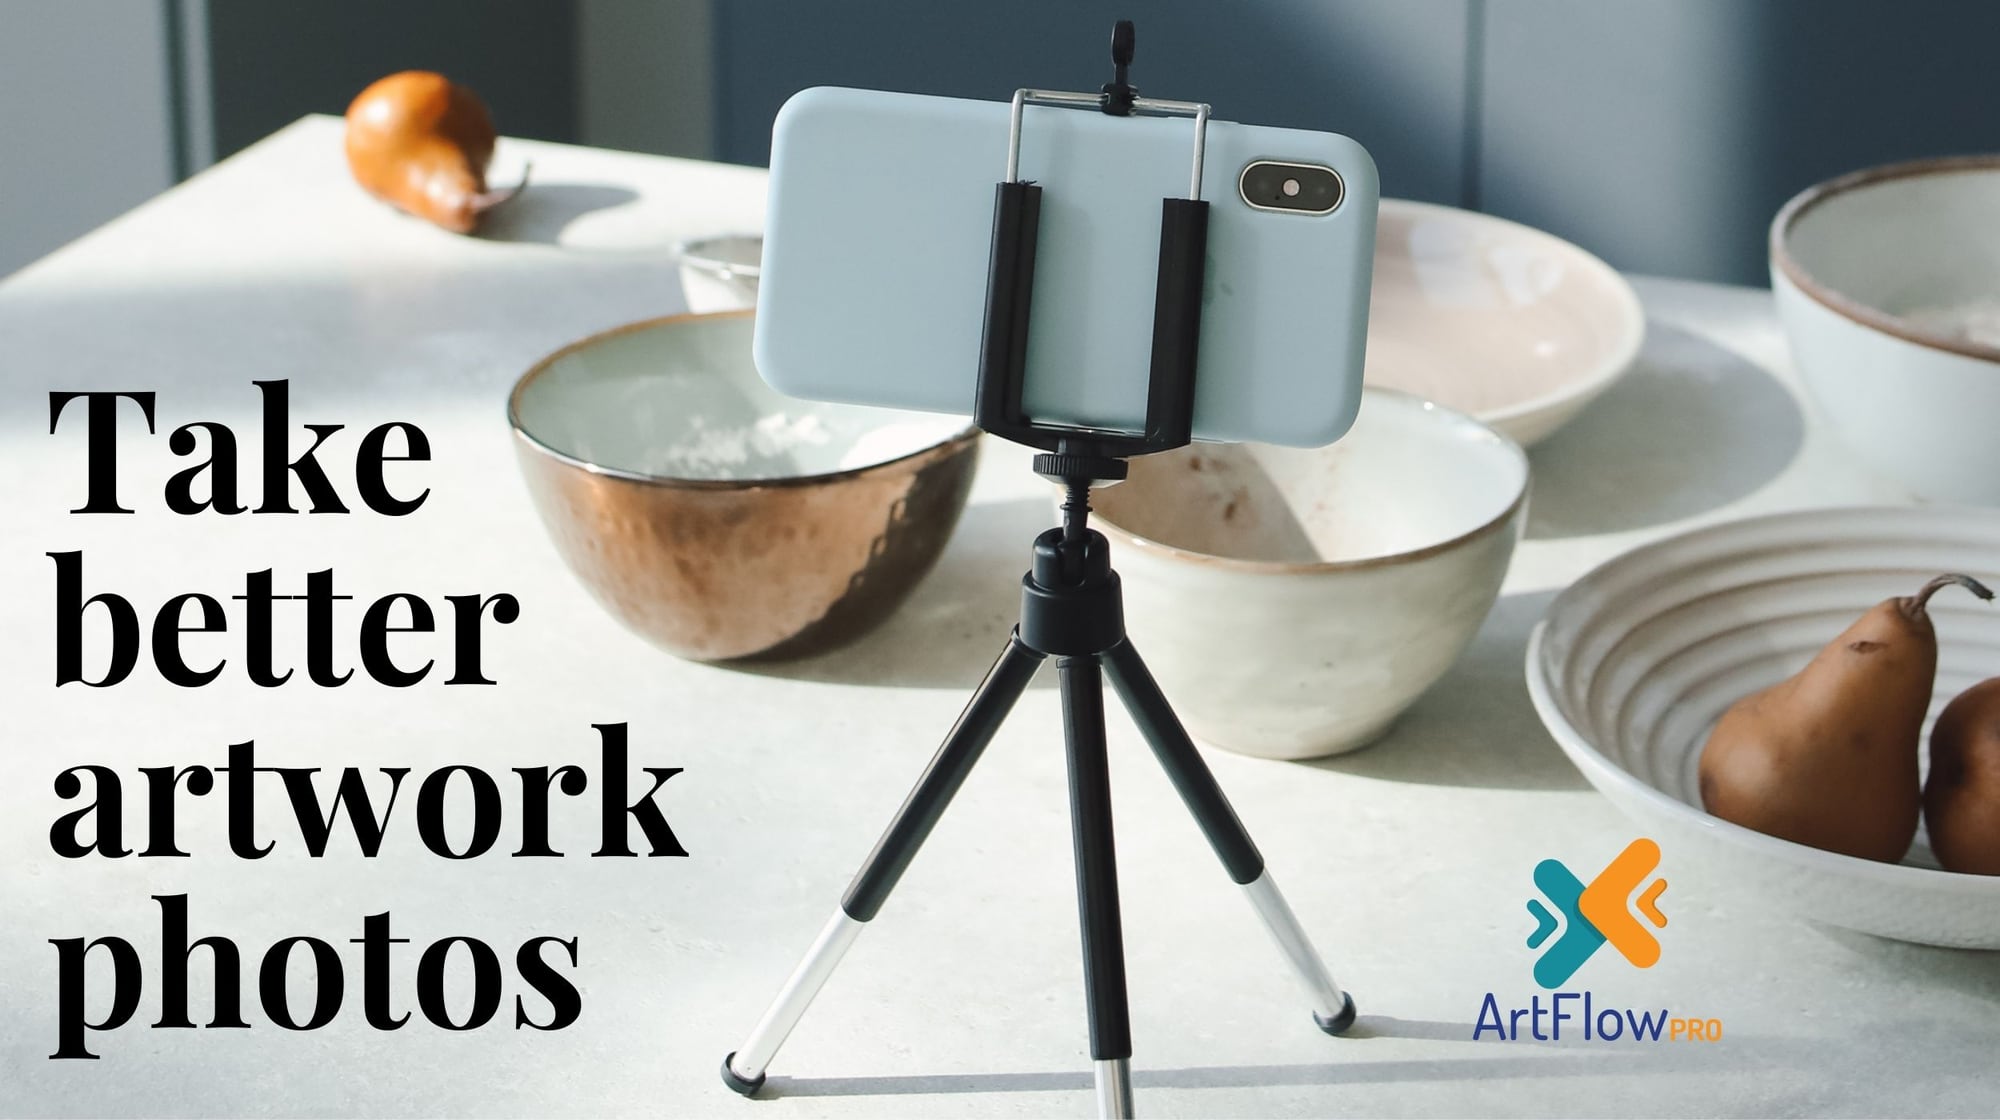
If you invest in only one thing, make it a tripod. A solid one will eliminate blur, help you frame your shot with precision, and free up your hands to adjust lights or props. Even a simple table-top tripod or clamp can make a massive difference.
Lighting:
Lighting makes or breaks the shot. You want soft, diffuse light-think window light with a sheer curtain or a softbox setup. Avoid overhead kitchen lights or mixed light sources (e.g. daylight + yellow bulb). If the light looks good to your eye, it will probably look good to the camera.
If you're photographing reflective surfaces-like glazed ceramics or glass-side light and bounce cards (even a sheet of white paper or foamcore) will help shape highlights and reduce glare.
Your Setup - A DIY Studio in a Corner
You don't need a big studio. A corner of your home or studio can become a perfectly good photo zone.
Use a clean, neutral background-white, grey, or graduated tones work best.
You can buy "infinity" backgrounds online or make your own using paper, fabric, or vinyl sheets taped to a wall and table.
If your work is small, consider a fold-up lightbox (they're cheap and effective).
Use tape to mark where your tripod and artwork go. That way, once you've got a good setup, you can recreate it each time without starting from scratch.
Style and Substance
There are two kinds of photos you'll want:
Clean documentation shots - for galleries, competitions, and catalogues. These should show the work clearly, with accurate colour, proportion, and no distractions.
Promotional or styled shots - for social media, websites, and storytelling. These can show your work in context (on a wall, in a home, being held) or include textures and props that reflect your artistic identity.
Both have value. The trick is knowing when to use each-and how to shoot each with intention.
The Little Things That Make a Big Difference
Keep the camera square to the artwork - especially for paintings or flat pieces.
Leave space around the object - don't crowd the frame.
Use the self-timer or remote trigger - so you're not nudging the camera when you shoot.
Shoot multiple angles - especially for sculptural work.
Edit lightly - adjust brightness, contrast, and crop. Don't overdo filters. Your photo should tell the truth, just better lit.
When to Hire a Pro
Sometimes, it's worth calling in help. If you have a big show coming up, applying for grants or residencies, or need a standout image for marketing, a professional photographer-especially one with product or art photography experience-can lift your work to the next level. It's not always cheap, but it's often money well spent.
Final Thoughts
You don't need to be a perfectionist, but you do need to care. A bit of effort with your photography shows that you value your own work. It builds trust with your audience. And when you're using Artflow Pro to catalogue and present your portfolio, those high-quality images turn into a consistent, professional presence across your website, social media, and gallery proposals.
If you're not quite there yet-don't worry. Start with what you've got, improve with each session, and treat it like part of your art practice. Because it is.